Tuesday, August 15, 2017

Wednesday, August 24, 2016

Garden prep time in Florida


It's getting to be that time again, when Floridians think about getting their hands in the dirt to plant the fall garden. We garden on a very different schedule from those up north.

I noticed that a tree that had fallen years ago, one where we pushed the trunks into an area with other things growing, had rotted down quite a bit and left a lovely pile of... rotted tree.

I'm a gardener who doesn't like to toss organic material (I've even been known to go collect what others put out for yard waste on occasion) so this pile looked like a really nice source of soil amendment... one that I know wasn't sprayed with anything I'd prefer not to use in my yard.

It was pretty chunky here and there and I needed a sieve. I checked online and didn't want to spend the money for what I found there - and I didn't want to make the same kind I've made in years past... with hardware cloth and a wooden frame. I'm of an age where I like things lighter and easier to manage.

After thinking a bit I decided I could use an extra dishpan and drill many holes with a quarter inch drill bit which would leave me with a pretty fine end product. Once I decide to do things I often do them quickly and I'm more concerned with function than form... so I ended up with this rather wiggly dirt sieve:


It was a Sterilite dishpan and I used a regular drill bit, with the precaution of having some waste plywood underneath the drilling area so I wouldn't damage what was underneath.

I was happy with the way it turned out (yes - I know it's not picture perfect... but it works!) so decided to make another. I even marked it so it came out more evenly. This one was made using a half inch drill bit.


So for the sieving of the rotted tree I gathered the two sieves, a mortar tub (super handy and available at my Home Depot) a bucket for the half inch sieved stuff, and some gloves.

This is what the pile of rotted tree looks like:


Here it is collected in the dishpan with the half inch holes, ready to be sieved:


Here's what is left after I sieved it. I returned this to the area as mulch.


Here's what was sieved from the half inch hole sieve into the quarter inch hole sieve:


And here's what was left in the quarter inch hole sieve after I shook out all the little stuff:


This is what the half inch stuff looks like after collection:


Here's the quarter inch stuff:


And here's everything ready to go back to the house to be used in potting up some plants.


I'm pleased with how it turned out and will use this method to sift out my compost, leaf mold, and other organic goodies I find around the yard.

There's been a meme going around and one of the admonitions is "Make more - buy less"... I'm happy I was able to make very functional sieves out of dishpans I had laying around the house, and have an end product of great stuff for potting.

Sunday, July 12, 2015

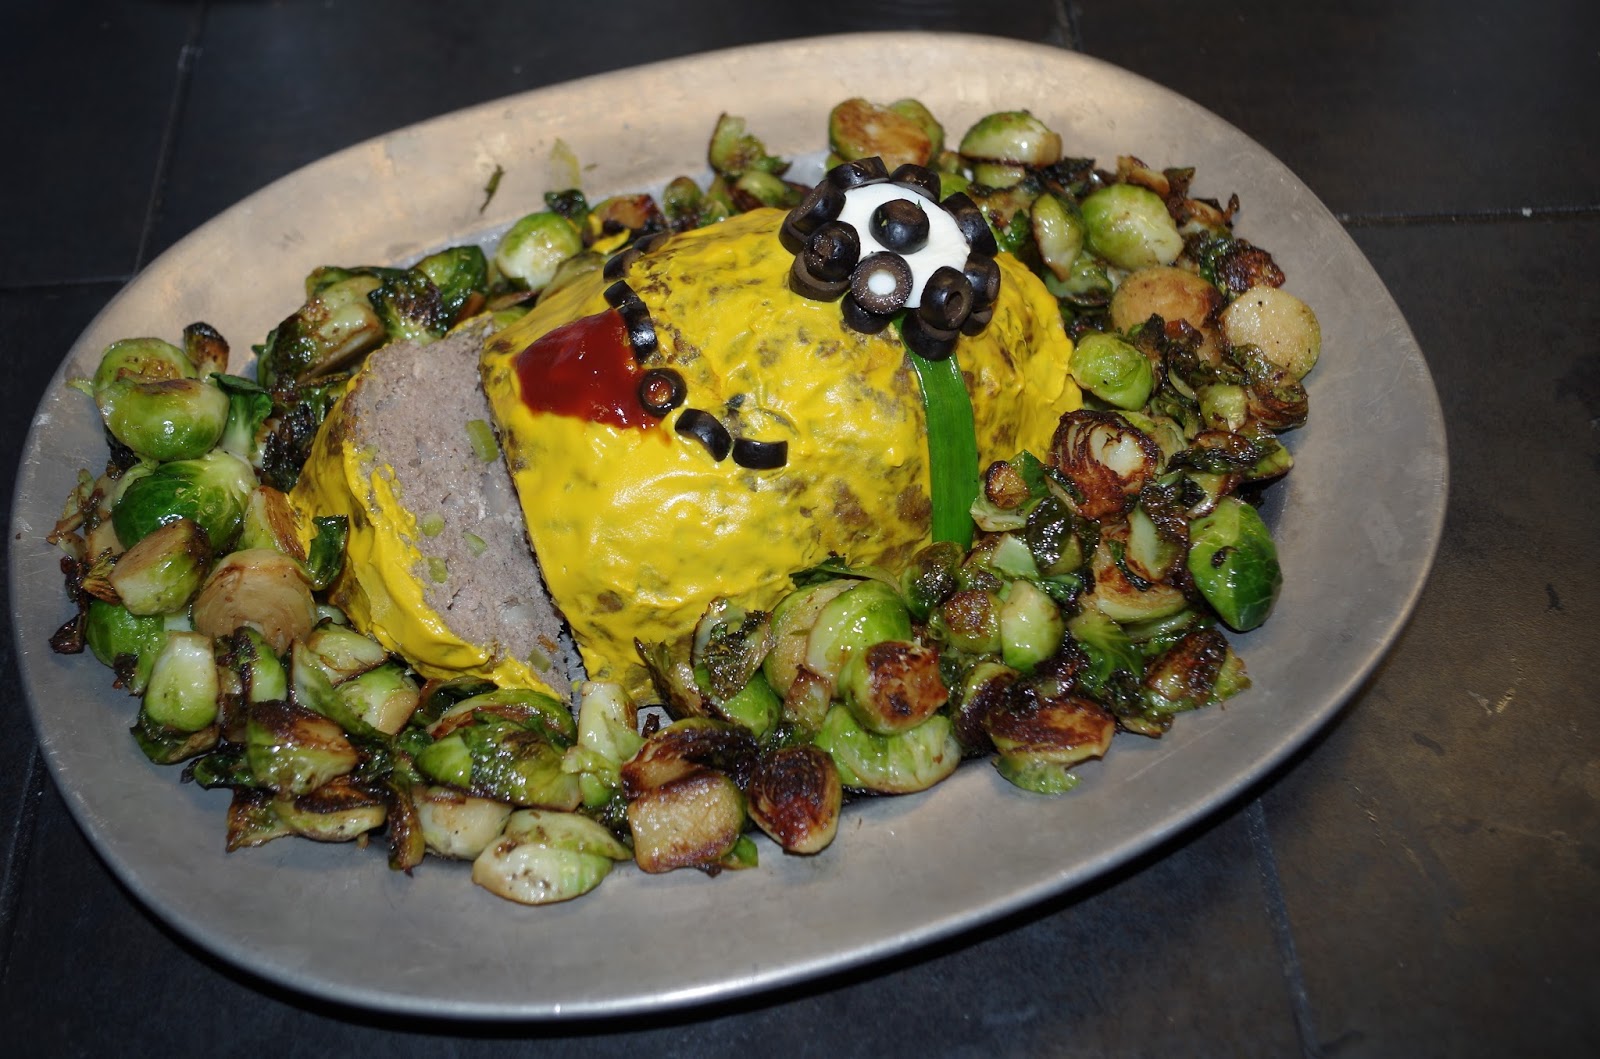
My daughter saw a cartoon with a minion made as a filet... she said "I could make that into a meatloaf"... so she did:


Saturday, November 1, 2014

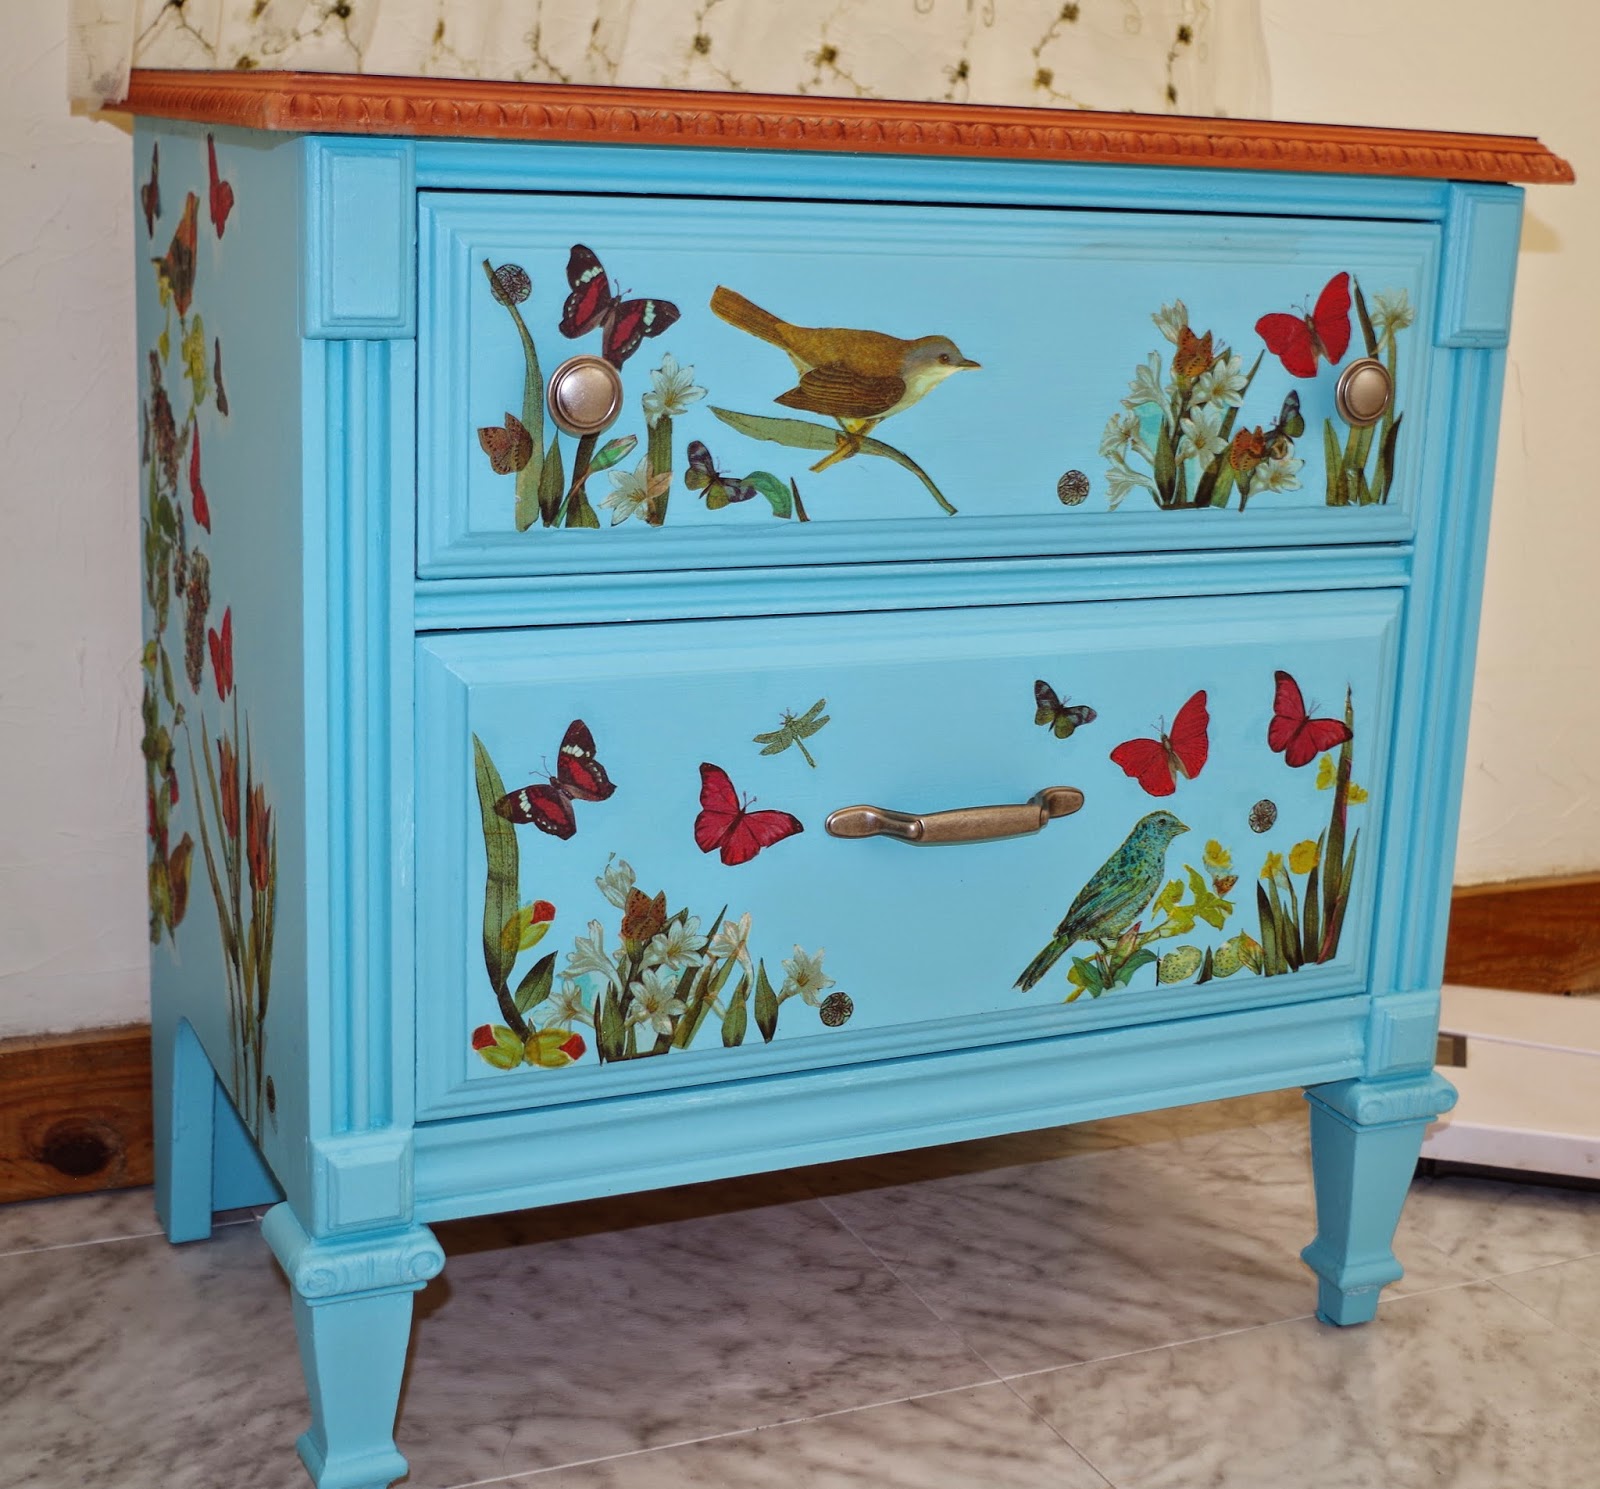
I've been in the mood to redo a few things around the house. This past week I painted and decoupaged a little chest of drawers I've had in the bathroom for years.

This is what it looked like when I purchased it:


And this is what it looked like after I was finished with the redo:


You can't see it in the photo, but the top is painted black. I wanted to stain the entire top, but after stripping off the paint I found out the top underneath was Formica. Plan B? Black paint on the top with a cherry stain on the pressed wood edge.

The things I decoupaged onto it were cut from decorative napkins. Since they are so thin they give somewhat of a painterly look to it.

I'm considering giving it a very light wash of antiquing, but for now I'm happy with it just as it is.

That bow in the first photo? It turns out it wasn't wood glued on (which I suspected) but plastic put in with very thin nails... it was a breeze to pry it off. I spackled all the indents and changed the hardware to inobtrusive (and inexpensive!) silvertone from Home Depot.

I had a color in mind and was able to mix it up from an off white and a turquoise I already had on hand. The cherry stain and black paint were also on my shelves.

The total outlay was the 3.98 plus tax for 2 sets of napkins (most of which remain) and about 5 for the pulls.

I may be looking around for something else to decoupage soon. It was fun :D

Wednesday, November 21, 2012

A Pie at Thanksgiving

I'm not a fan of those pecan pies with a thick layer of sweetening topped with a few chopped pecans. The recipe I use calls for one cup of chopped pecans. I use a pound.

The crust is Tart Pastry from the 12th edition of The Fannie Farmer Cookbook. It's the one recommended for the pecan pie recipe, and I've found it works well and I'm happy it has no shortening.

 
 First I take 1 cup of flour and mix it with 1/4 teaspoon salt. I then take 6 tablespoons of cold butter and cut it into the flour and salt mixture.

 I like to use two knives, alternating between trying to chop the butter into little bits and mixing it around to see where I need to work harder. The mixture slowly becomes yellower as the butter is incorporated into the flour. Some people prefer to use a pastry blender, and some like to use their fingers. If you use your fingers don't let the butter get too warm and melty while you're working with it.

When the butter is no longer recognizable as pieces of butter, but instead the mixture looks coarsely ground, it's ready for the next step.


Mix 1 egg yolk with 2 tablespoons cold water together.


 Add it to the flour mixture.


Gently mix with a fork.


Until the mixture balls up on itself.


Put in cling wrap and refrigerate at least 20 minutes.


Start pressing (you don't roll this out) into your pie pan. This is a 10 1/2 wide by 1 1/2 inch deep pan and it fills it very nicely.


Continue adding globs of the dough, and spreading it evenly. I use my fingers and the heel of my hand to do it. I cover deeply enough so no white shows, but not thick. It takes a bit of practice, but this dough doesn't seem to mind. Stick it back in the fridge if it starts to get too warm.


 I use my fingers to form a pretty edge. At this point I pop it back in the fridge while I prepare the pie filling.


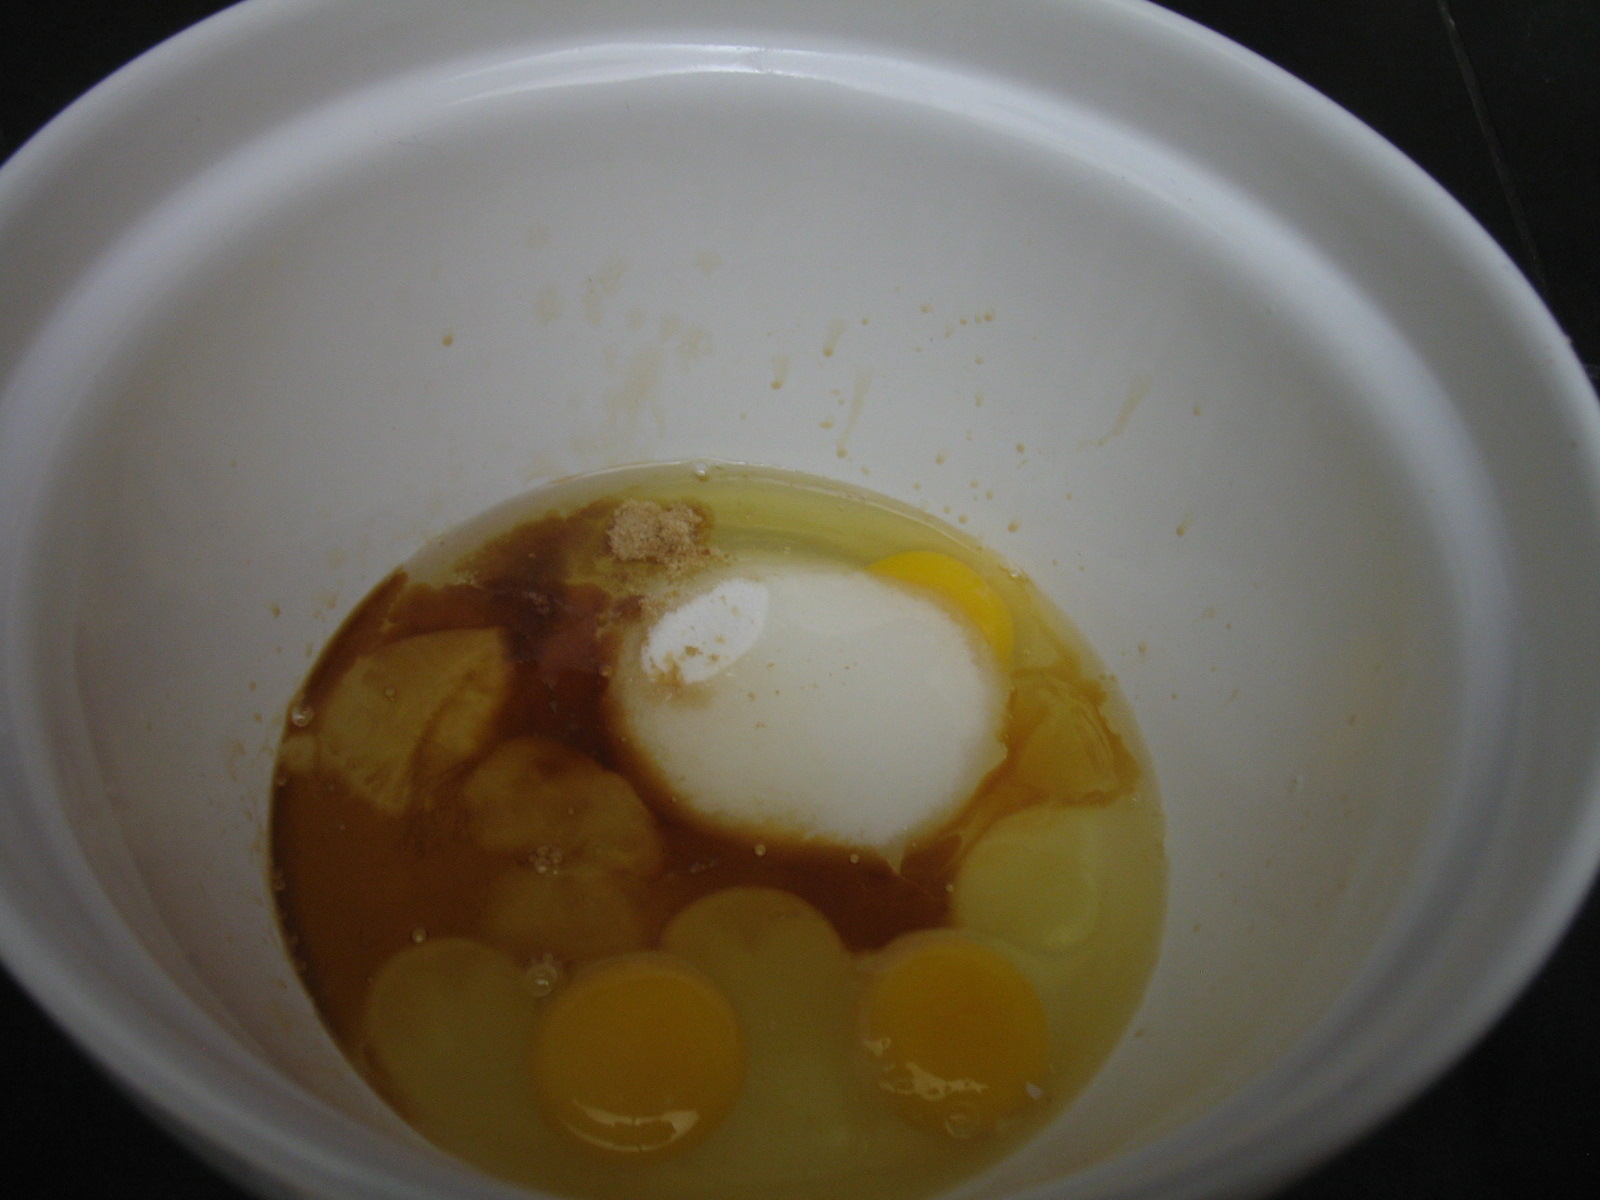
It's 3 eggs, 3/4 cup sugar, 1/8 teaspoon salt, 1 cup dark corn syrup (the grocery was out of dark so I used light this time) and 1 teaspoon vanilla. I mix that all up.


and then I stir in a pound of pecans.

Then I pour it into the pie shell.


The oven gets preheated to 425 F. It's baked for 10 minutes... lowered to 350 F and continues baking for another 35 minutes. It comes out looking like this.
I can't wait to eat it!


Sunday, December 13, 2009

Dinner again. Faux pizza.

Eating low carb can make you feel deprived. You can't have pizza, you can't have chips, you can't have a burger and fries at McDonald's... Having some replacements can go a long way towards helping to stay low carb. Tonight I had little pizzas... not regular pizza, but close enough for me.

The big difference is the "crust"... there is no crust. I buy some whole portabella caps and take out the stem. I wanted a very standard flavor so just used some tomato sauce, Italian mixed cheese, pepperoni and fennel and herbs.


After layering the ingredients pretty much like you do when making regular pizza, I pop them into the oven at 400 for about 10 to 15 minutes... until the cheese starts to brown.


And then enjoy the results. Delicious! And I don't need to put mushrooms on top!

Saturday, December 12, 2009

Dinner and a movie...

At home... but dinner and a movie nonetheless.

Tonight's dinner was a low carb success. I got the recipe idea from 200 Low-Carb Slow Cooker Recipes: Healthy Dinners That Are Ready When You Are! by Dana Carpender. The original recipe, "I've Got a Life" Chicken, called for chicken, mushrooms, orange juice, grated zest, chicken bouillon concentrate, pepper, tomato sauce, soy sauce, Splenda, molasses, garlic and thyme.

Being unable to leave well enough alone I used a can of crushed tomatoes with chiplotle peppers and left out the thyme... thinking with everything else going on in the recipe, perhaps the peppers and thyme might clash.

I grow citrus... I grow a LOT of citrus... so I used one of my satsumas for the juice and zest.

Fast forward past the cooking to the eating part. Everyone thought it was yummy, but could be improved. I'm thinking about leaving out the soy next time... my daughter suggested leaving out the Splenda, as it tasted a bit sweet to her. The orange was very tasty but was so intense it overwhelmed the other flavors. I didn't notice any heat from the chipotles or the garlic... and no tomato flavor. My husband has a cold and has dulled senses... he said "I tasted the orange and it was good" LOL. It might just be that the oranges fresh off the tree are extreme orange... maybe all that good organic growing?

Here's what it looked like in the pot after my husband and I had served ourselves. The kitchen smells good!


Oh yeah... the movie.

It was Harry Potter and the Half Blood Prince. We didn't get to the theater to see it so I ordered it from amazon.

It was like all the Harry Potter movies. I love them. They will remain classics for me.

But I love the books more.

Friday, December 11, 2009

I think I broke my retail bone

I'm a thrift shopper. My husband and I love the hunt, and we find great stuff regularly. Today I spent 25 cents on a bag of wood pieces to use in crafting, and got an oak frame out of the free box.

After dinner, we went "real" shopping... the kind where you walk into a retail store and purchase new items. My main mission was to purchase patterns for $1.99 at Hancock's fabrics, and look if anything else in the store shouted "buy me!" I have some baby patterns already, but none for the stretch cotton pants I want to make for my almost 6 month old granddaughter. I knew it would be easy to find a lovely pattern for the pants, and probably other things as well.

Not so. I really tried to find patterns I wanted to buy... but each one I saw was so ho hum, and I can draft a ho hum pattern by myself. I'm not a new crafter or sewer, and didn't need (or crave) anything else at Hancock's. All I spent in the store was some time.

A bit sulkily, I told my husband I did not want to go home... and maybe wanted to get some baby clothes at the mall. He suggested the Ellenton Outlet Mall, which has some great baby stores. We went in Baby Gap, Gymboree, Carter's, Oshkosh, The Children's Place, VF, and Hartstrings. I contemplated many items. Again, I bought nothing. I kept picturing all the great clothes I have found, from these same labels, for 50 cents, or a dollar, or $3 for a bagful, at the thrift stores I go to, quite a few of which I got "new with tags!"

The pants the baby needs? I'm going to make them, using fabric I already have, after drafting a pattern to fit her cloth diapered butt.

I did buy myself some underwear. Shoes and underwear are items I buy new.

Is this a symptom of overdosing on thrift shopping?

Maybe I don't want a cure.

Thursday, December 10, 2009

Bad dog!

Being the mom to 3 dogs, I'm used to dog associated grief. Being used to it didn't help with how I felt about coming home after a nice day shopping to find that Luci, our youngest at 11 years, had decided to make our living room couch into her personal nest. Our couch is awaiting recovering, so the fabric is just artfully, yet securely tucked all around... and looks pretty good regularly. Not after Luci was done!


She didn't stop at the couch, either. The curtains and blinds need adjusting now, as well.


She didn't even have the grace to look ashamed! Perhaps she thinks I should fry her up some liver and serve it to her in a silver bowl?

Wednesday, December 9, 2009

Last Pair!

This is the last pair of socks I am embellishing... for now. I went back to Big Lots for another fix... um... bag of socks, but they didn't have any more in the right size. Maybe if I cast on a knitted pair I'll get over this silly need to add ruffles on baby socks? If not... I can always stalk the sock aisles for a new shipment.


My son condescended (he's 21) to come thrift shopping with me today. His find? US Divers Rocket Fins for $5. Happy faces all around. He was further pleased when the scratch and dent food store had canola oil and paraffin for a great price. He uses both in his blacksmithing. Our last stop netted him a shirt for $1. See? Hanging around with mom isn't ALL bad!

Tuesday, December 8, 2009

A New Christmas Pyramid

Many years ago, on a trip to Austria and Germany, my mom bought me a Christmas pyramid. Since then I've collected more, and today I found number 9 at one of my favorite thrift stores. Here it is in action:


They cost more than I am willing to pay at retail, so I was thrilled to see this one marked $20, which was $16 due to a 20% off sale that was being held. It has German markings underneath, which is great, since many now are made in China. I enjoy the Chinese ones, too... but there's something about authenticity...

On the craft front I've crocheted a few more edgings on socks for my granddaughter. This makes 5. I seem to have a problem with addiction...

Monday, December 7, 2009

Snowflake Snack... low carb!

Low carb eating can make me feel a bit deprived at the holidays. I saw these cookies made with regular tortillas dusted with cinnamon sugar and figured a few alterations could make them acceptable for low carb dieters.

I used the smaller tortillas from La Tortilla Factory, just because they are the ones available to me locally. After folding a tortilla in half, I folded it in thirds.


Using regular (clean!) scissors I cut out my snowflake. If you've ever made these out of paper you know to leave parts uncut on every edge so you won't just end up with a bunch of chips.


I put my finished tortillas on a greased baking sheet and brushed them with oil. Next time I may try egg white, like in regular cookies. They were sprinkled with cinnamon Splenda, and then I ground some chunk cinnamon on top, as well. They went into the oven on broil just until they started to brown.


They came out quite cute and I don't feel like I'm missing out on holiday treats... since I have one. The La Tortilla Factory tortillas have just 3 net carbs each, and I cut some of those off! Adding the bit of carb that Splenda and cinnamon both have, it's still a very low carb snack.


The next batch? I'm going to be really decadent and fry them!

Friday, December 4, 2009

Please vacate the premises...

It's been really rainy for a few days here in west central Florida. Yesterday I took advantage of a lull in the raininess to spread annual rye grass seed on the lawn. Florida grass is pretty awful, but we can have several months of lush green if we overseed with rye in the winter.

While passing the little pond at the bottom of the back stairs a snakeskin caught my eye. Normally I'm not a snake phobe... but this year we saw two water moccasins... killing one, with the other slithering away. Water moccasins... yeah - a little bit of a phobia, especially with a baby in the house.

I took the snakeskin out of the water thinking
"Please not a water moccasin... Please not a water
moccasin" but accepting it very possibly was.
It looks relatively puny curled up, but measured
about 24 inches with the measuring tape.


Yup... it's that skinny black line under the tape.
It doesn't look intimidating at all..

The skin was all stuck together (and smelly!) so
it was hard to get a good idea of what the snake
looked like who shed it. I pondered how I could
fill the snakeskin to see its true shape and other
characteristics. Upstairs, on my glass table on the deck, I used a watering can with a thin nozzle to fill the snakeskin with water.

I was a bit surprised when it worked!
Yes... lots of leakage, but the snakeskin
filled enough to give a much better view
of who had left it there... unhappily...
it looks like it was a water moccasin.

Doubly unhappily...
the shed skin is proof it's growing.

Thursday, December 3, 2009

How Do You Attach Crochet to a Sock Edge?

First stretch out the top of the sock so you can study the knit structure and determine how to evenly space the stitches you are about to place around the top of the sock. Think about the ruffle pattern you want to use, and the thread/yarn you are going to use. For thin crochet cotton you will need to put more base stitches, whereas with a yarn like sock yarn or baby yarn you can use fewer. There's a bit of trial and error involved, although there's no exact and perfect number... and many will work and make a nice looking edge. Pick a crochet hook that will work well with your chosen thread/yarn.


Next, put your hook through an opening in the knit near the top of the sock and pull through a loop. I like to do it a couple of holes down so it is sturdily attached. Try to use the same distance from the edge for each subsequent stitch.


Next, pull through a second loop at the place where you think, by continuing evenly, you will get a good stitch count.


Next, yarn over and pull the loop through the two loops already on the hook. I've left the loops loose for ease of seeing in the pictures... keep yours at a better tension!


Pull through a loop at the next space along the top.


Yarn over and pull the loop through the two loops already on the hook. Continue like this all the way around the top of the sock.


You'll end up with single crochet around the top (hopefully more evenly tensioned than mine!) onto which you can build your edging.


Where the end meets the beginning I just pull a loop through the first stitch to attach.


Start your stitch pattern... This one is chain 2, dc in same space, then 3 dc in next sc. *2dc in next sc, 3 dc in next sc* repeat between ** all the way around. I work in both loops, but you can work in just one if you want... it simply looks a bit different. Just be consistent if you want it to look consistent!


Here's what it looks like as you are working your way around.


And here's what it looks like modeled on a dolly napping on the rug.


Now to spend some time with a crochet edging book to pick out which one I want to use for the next pair...